
To tighten violin strings, turn the pegs clockwise. First, loosen the string slightly before tuning it up to pitch.
As you turn the peg, use your left hand to apply pressure to the string. The sound of a properly tuned violin is an absolute delight to music lovers. However, if your violin’s strings are loose, the sound may be affected.
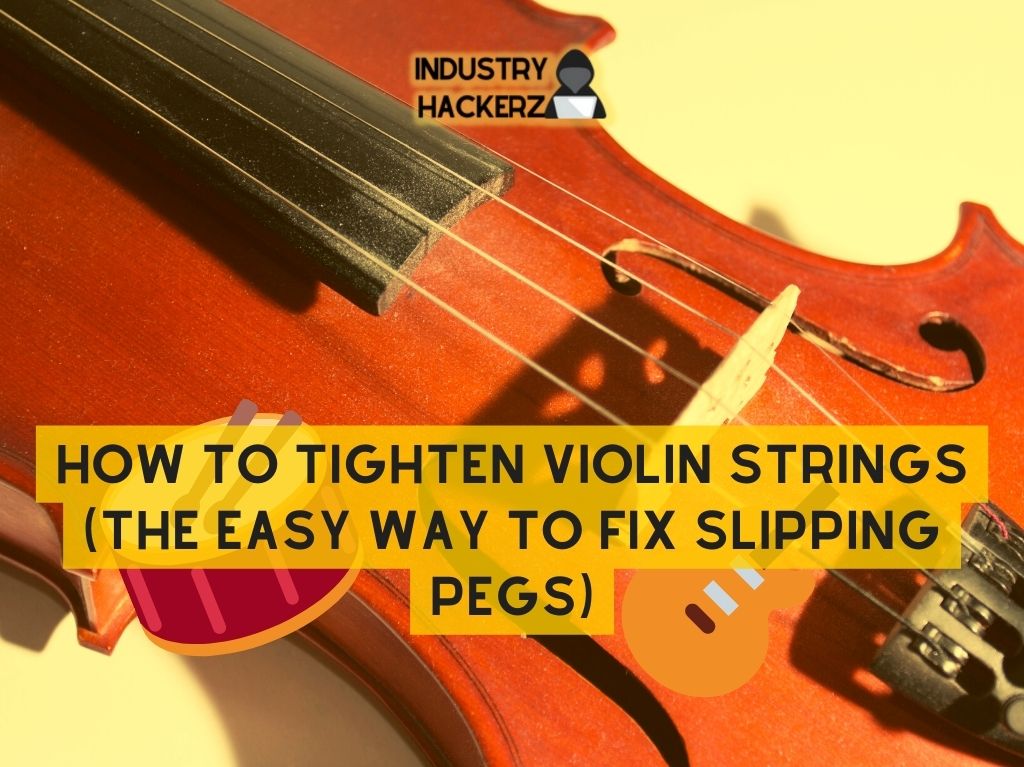
That is why it is important to know how to tighten violin strings. When your strings are too loose, they will sound flabby, which can seriously hamper your music. Tightening the strings is important if you want to achieve that crisp, resonant sound that violinists are known for. In this article, we will tell you how to tighten violin strings in a few simple steps.
Credit: industryhackerz.com
Tools And Materials Needed
Learning to replace and tighten strings on your violin is crucial to keep your instrument sounding its best. With the right tools and materials, it’s a job you can complete in no time. In this section of our blog, we’ll discuss the necessary tools and materials needed and give you tips on proper care and maintenance.
List Of Tools And Materials Required For Tightening Violin Strings
To change the strings on your violin, you will need the following tools and materials:
- New set of violin strings
- Fine-tuner
- Peg winder
- Peg compound
- Microfiber cloth
New sets of violin strings should come with four strings in varying thicknesses. Make sure to buy a set that matches the size of your violin. Fine-tuners come in handy if a string is going slightly out of tune during a performance or practice.
Some violins come with built-in tuners, but they can also be purchased separately. Peg winders make it easy to twist and maneuver your violin’s tuning pegs. You can apply peg compounds to your pegs to make them easier to turn and prevent slipping.
Finally, a microfiber cloth will keep your instrument’s surface clean and free of dust and oils.
Proper Care And Maintenance Of Tools And Materials
To keep your tools and materials functioning effectively, we recommend taking the following steps:
- Always store your violin strings in a dry, cool place, such as a closet or cupboard. Avoid storing them in areas with high humidity, as this could harm the strings.
- Clean your fine tuner and peg winder with a microfiber cloth after each use.
- Apply peg compound sparingly. Too much can make the pegs hard to turn.
- Clean your microfiber cloth regularly. It’s a good idea to wash it after each use.
- Replace your violin strings regularly. Over time, they will deteriorate and lose their sound quality.
By following these simple steps, you can ensure that your tools and materials will last for years to come, and your violin will always sound its best.
Preparatory Steps
How To Prepare The Violin For Tightening Strings
To get the best sound from your violin, it is important to make sure that it is properly prepared before tightening its strings. Here are the key points to keep in mind:
- Remove the shoulder rest, if installed, to give you better access to the instrument.
- Make sure that you are in a well-lit room, so you can see what you’re doing.
- Check that the chin rest and tailpiece are properly secured, so they don’t move when you start tightening the strings.
- Ensure that your hands are clean and dry, so you don’t have any issues with the pegs or fine tuners slipping out of your grip.
Removing The Tailpiece Of The Violin If Necessary
Before tightening the strings, you may need to remove the violin’s tailpiece. Here’s what you need to do:
- Look for the adjuster screw on the tailpiece and loosen it.
- Remove the tailpiece from the violin by pulling it down and away from the body of the instrument.
- Check the tail gut and adjust or replace it if necessary.
- Reattach the tailpiece, making sure that it is properly aligned and secured to the violin.
Inspection Of Fine Tuners, Pegs, And String Grooves
Now it’s time to inspect the fine tuners, pegs, and string grooves before tightening the strings. Here’s what you need to keep in mind:
- Check each fine tuner to ensure that it is properly adjusted and not stuck.
- Inspect the pegs to make sure that they are properly fitted into the peg box and rotate smoothly.
- Look at the string grooves on the nut and bridge, and clean them if necessary.
- Make sure that the strings are properly wound around the pegs, so they won’t slip when tightened.
By following these preparatory steps, you can ensure that your violin is ready to be tuned and that its strings will stay in tune. With some care and practice, you’ll be able to produce beautiful music on your instrument.
Tightening The Violin Strings
Whether you’re a beginner or a seasoned violinist, keeping your instrument’s strings in good condition is key to producing a beautiful sound. Tightening the violin strings requires some technical knowledge, so let’s dive in.
Step-By-Step Guide To Tightening The Violin Strings
Here is a simple and effective guide to tighten the violin strings:
- Place the violin on a flat surface.
- Using a tuning peg winder, turn the peg for the string that needs tightening until the desired level of tension is reached.
- Turn the peg slowly but firmly – it should be neither too loose nor too tight.
- Avoid using excessive force while turning the pegs.
- After tightening the strings, tune the violin to the desired pitch.
How To Properly Wind The String Around The Peg
Correctly winding the strings around the pegs is essential to ensure that the violin remains in tune and that the strings don’t slip. Follow these steps to ensure that you wind the strings correctly:
- Insert the string through the peg hole from the side facing the scroll, towards the side facing the bridge.
- Turn the peg counter-clockwise to unwind the string a little and form a slight “hook” in the string near the hole made by the peg.
- Wind the string around the peg in a clockwise motion.
- Tuck the end of the string into the wound string at the side facing the pegbox wall – this will prevent the string from sliding.
Proper Alignment Of The Bridge While Tuning
The violin bridge is a crucial component of the instrument, so it’s essential to keep it aligned while tuning. Here’s how to do it:
- Look at the angle of the bridge while tuning; adjust it slightly if it appears to be leaning forward or backward.
- Pay close attention to your bridge while tuning, as it can move out of place with excessive pressure or while using a heavy-hand.
- If you’re unsure, double-check and re-align the bridge before moving on with your performance.
How To Use Fine Tuners To Adjust String Tension
Fine tuners are handy tools used to fine-tune the violin strings. Use these simple steps to adjust the string tension with fine tuners:
- Should a string be still a bit flat, turn the fine tuner clockwise until it matches the desired pitch. Do not turn it in excess or try to force anything – let it move in levels.
- To lower the pitch, turn the fine tuner counterclockwise. Doing it in a gentle way will help you tune the string without snapping it.
- Using only one tuner at a time helps the musician gauge which string is going too high or too low, enabling him to adjust the tuning accordingly.
By following these simple tips, violin players can safely and correctly tighten the violin strings for optimal performance. Practice with caution, patience, and care for the instrument, and you’ll be amazed at the beautiful sounds you’ll produce.
Troubleshooting Common Problems
When it comes to playing the violin, having properly tightened strings is essential to producing the intended sound. However, tightening violin strings, for those who are not well-versed in the process, can be a daunting task. If not executed correctly, it can lead to unfortunate consequences such as broken strings or damaging the soundboard.
We will discuss how to tighten violin strings and troubleshoot common problems that may arise.
Common Issues That May Arise During The Process Of Tightening Violin Strings
When tightening violin strings, it’s not uncommon to encounter some difficulties. Here are some of the most common ones that you should be aware of:
- The string slipping: One common issue when tightening violin strings is that the string can slip. It can be frustrating and cause you to start the process all over again.
- Buzzing sound: Another issue that might occur is a constant buzzing sound produced when the string comes into contact with any part of the violin other than the bridge, fingerboard, and tailpiece.
- Improper tuning: Often, violin strings can become untuned while tightening them, leading to not achieving the intended sound or tune.
How To Troubleshoot Issues Such As Slippage Or Improper Tuning
When troubles arise during the violin string tightening, it’s essential to know a few tricks to sort it out. Here are some of them:
- Slippage: Consider using rosin over the bridge’s grooves before tying the string to prevent the string from slipping. Applying rosin causes friction between the string and bridge, holding the string in place.
- Improper tuning: Check whether the strings were tuned correctly before tightening them. Moreover, while tightening the strings, release the tuning peg a bit to avoid overtightening, leading to the string’s snapping.
How To Know When To Seek Professional Help For Issues Beyond Your Level Of Expertise
If despite your best efforts to troubleshoot the problems that have arisen during tightening the violin strings, you still can’t get the desired results, it is better to seek professional help before things get worse. Some instances include:
- Snapping sound: If you hear a snapping sound while tightening the string, it’s a sign of over-tightening, which may result in the string breaking.
- Damaged string: If you notice any damage to the string, such as an uneven winding, it is always advisable to replace the string. Do not wait for it to snap as it may cause severe damage to the instrument.
Learning to tighten violin strings is not easy, but it is crucial for playing the violin. With the tips outlined you should be able to troubleshoot common problems that arise while tightening violin strings. If you come across issues that seem beyond your level of expertise, seek out professional help before attempting any more fixes.
Conclusion
As we have seen, tightening violin strings is not a complicated process but requires some care and patience. Remember to use the proper tools and tune your instrument regularly, since changes in weather and humidity can affect its sound.
Always be gentle when tightening the pegs, and if you encounter any problems, don’t hesitate to seek the advice of a professional violin maker or teacher. Tighter strings can improve your playing experience by giving your instrument a brighter and more focused tone, as well as making it more responsive and easier to play.
Whether you are a beginner or an experienced musician, learning how to adjust your violin strings is a useful skill that can help you get the most out of your instrument.
Frequently Asked Questions For How To Tighten Violin Strings
How Often Should I Tighten Violin Strings?
Depending on how frequently you play, violin strings may need tightening every few weeks. Strings generally require tightening when they sound dull or flat. However, you should avoid tightening them too often as it can cause damage to the instrument.
How Do I Know If The Strings Are Too Loose?
One way to tell if your violin strings are too loose is by gently pressing down on the strings with your fingers. If the strings touch the fingerboard, they need to be tightened. Looser strings can also cause the sound to be flat or buzzy.
What Is The Best Way To Tighten Violin Strings?
First, loosen the old string by turning the peg counterclockwise, then remove it. Take the new string and place it in the hole at the bottom of the peg. Pull the string up tightly and wind it clockwise around the peg, making sure it doesn’t slip. Tune the string to the desired pitch.
Can I Use A Tuner To Tighten Violin Strings?
Yes, a tuner can help you get the pitch correct while tightening violin strings. You can use a clip-on tuner or a mobile tuning app. Be sure to check the pegs and adjust them as necessary, as they can slip while tightening the string.
Can I Play My Violin Immediately After Tightening The Strings?
It’s best to wait a while after tightening your violin strings to avoid causing damage to the instrument. Give the strings time to settle in and stretch a little. This will help keep the strings in tune and improve the sound quality.
